
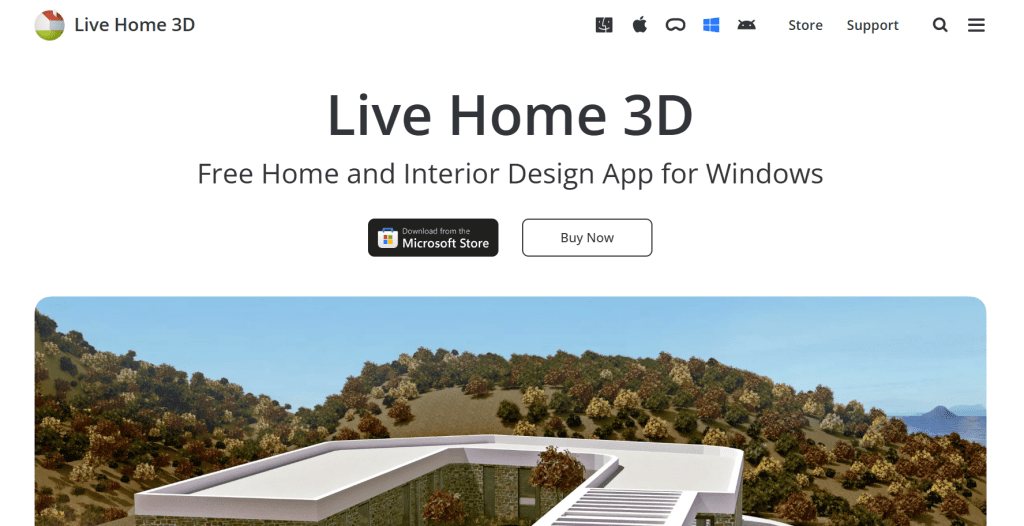
Welcome to the future of home design! Imagine stepping into your dream space before a single brick is laid or paint is brushed. With Livehome3D, that vision becomes a reality—blending cutting-edge technology with user-friendly features to transform how we approach interior and exterior design. Whether you’re a seasoned architect, an enthusiastic DIYer, or simply someone looking to reimagine their living space, this powerful software offers limitless possibilities for creativity and customization. In this blog post, we’ll dive deep into the world of Livehome3D, exploring its standout features that make it the ultimate tool for visualization and design. Get ready to unleash your inner designer and bring your ideas to life like never before!
Benefits of using Livehome3D for home design and visualization
Livehome3D offers an intuitive platform that brings your design ideas to life. Its user-friendly interface allows anyone, regardless of skill level, to create stunning visualizations effortlessly. One standout benefit is the real-time rendering feature. As you make changes, the software instantly updates your visuals. This immediate feedback helps you refine designs on-the-fly. Another advantage is its extensive library of furniture and decor items. You can easily personalize spaces with a variety of styles and colors that suit your taste. Collaboration becomes seamless too. Share projects with family or friends for input before making any big decisions about your space. Additionally, the virtual tour option immerses users in their designs. It’s like walking through a home that exists only in imagination—until now! This capability enhances understanding and appreciation of spatial layout and flow.
Step-by-step guide on using Livehome3D
Creating a new project in Livehome3D is easy. Start by launching the software and selecting “New Project.” You’ll be prompted to choose your preferred measurement units, like feet or meters. Next, adding walls is straightforward. Use the wall tool to define spaces. Click and drag to create each wall segment until your room takes shape. Windows and doors come next. Simply select the respective tools from the sidebar, then position them where you want within your walls. Now it’s time for furniture and decorations. Browse through an extensive library of items available in Livehome3D. Drag your favorites into place within your design. To take a virtual tour of your creation, utilize the camera tool. This feature allows you to navigate through rooms as if you were walking inside them, providing a realistic sense of space and layout that enhances visualization.
Creating a new project
Creating a new project in Livehome3D is an exciting first step toward bringing your dream space to life. As soon as you launch the software, you’ll be greeted by a user-friendly interface that invites exploration. Begin by selecting “New Project.” A blank canvas awaits, ready for your vision. You can choose from various templates or start from scratch based on your preferences. Next, set the dimensions of your space. Inputting accurate measurements is crucial for achieving realistic designs. Whether it’s a cozy apartment or a sprawling house, every detail counts. After defining the layout, consider naming your project. This simple act helps keep things organized and personalizes your design journey. With everything set up, you’re ready to dive into adding walls and other structural elements. The possibilities are endless as you embark on this creative adventure!
Adding walls, windows, and doors
Adding walls, windows, and doors is a fundamental step in shaping your space within Livehome3D. You’ll find that creating walls is intuitive and straightforward. Simply select the wall tool from the menu and click to define your room’s outline. Once your walls are in place, it’s time to enhance natural light with windows. Drag and drop different styles into position. Adjust their size for a custom look that suits your design vision perfectly. For entryways, adding doors is just as easy. Choose from various door types—sliding, French or traditional—and place them wherever you need access points throughout your layout. The software allows for precise placement so everything aligns seamlessly. This flexibility not only enhances aesthetics but also improves functionality in your home design project. Your imagination sets the limits here; let creativity guide you through each selection!
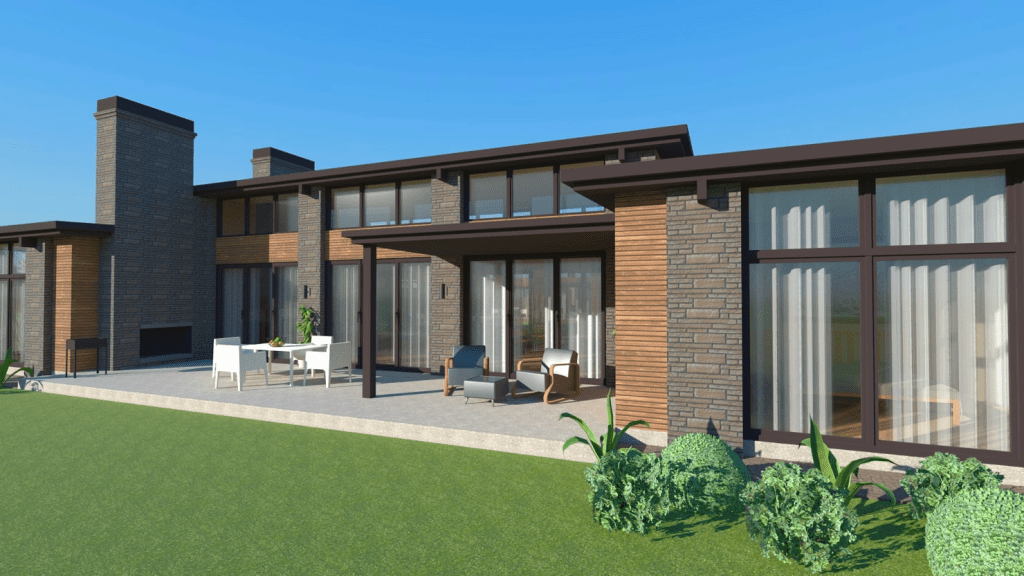
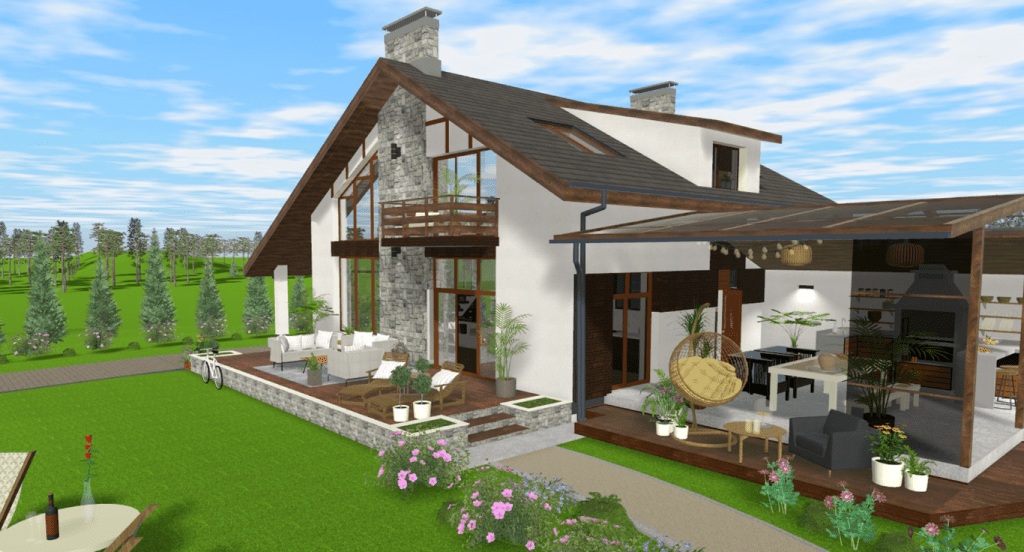
Adding furniture and decorations
Adding furniture and decorations is where your design truly comes to life. With Livehome3D, you can select from a vast library of items that range from modern sofas to vintage chairs. Drag and drop pieces into your virtual space with ease. This intuitive interface allows you to experiment with different layouts until you find the perfect arrangement. Don’t forget about accessories! Adding rugs, paintings, or plants enhances aesthetics and warmth. Adjust sizes as needed for a custom fit in your room. Zoom in for detail work and step back to get an overview of your entire design. Customizing colors and materials adds personality too. Play around with finishes—choose sleek metals or rustic woods—to reflect your style perfectly. Remember, the right decor can transform any ordinary room into an extraordinary experience!
Using the camera tool for a virtual tour of your design
Navigating through your design is where Livehome3D truly shines. The camera tool transforms your static project into an immersive experience. Simply select the camera icon, and you can wander through your virtual space as if you’re really there. Want to appreciate that cozy reading nook? Just position the camera for a closer look. You can also adjust angles effortlessly, capturing various perspectives of your design. Whether it’s an aerial view or eye-level stroll, each option brings out unique details. This feature allows designers to visualize how light interacts with different spaces at different times of day. Imagine seeing shadows dance across walls during sunset; it adds life to the layout. Sharing these virtual tours becomes easy too. Invite friends or family to walk through your creation without needing them in the same room—perfect for collaborative projects!
Tips and tricks for maximizing Livehome3D’s capabilities
To truly unleash the power of Livehome3D, start by familiarizing yourself with the shortcut keys. These can accelerate your workflow and make navigation a breeze. Experiment with textures and colors on surfaces. The right palette can dramatically change the mood of your space. Don’t hesitate to mix materials for added depth. Utilize layers to organize different elements in your design. This feature allows you to hide or show specific areas, making it easier to focus on one aspect at a time. Take advantage of lighting options too. Adjusting light angles and intensity can highlight features or create cozy atmospheres, enhancing realism in your virtual tour. Lastly, always save versions of your project as you go along. This way, if inspiration strikes later, you’ll have earlier iterations ready for comparison or further development.